
"Winter is an etching, spring a watercolor, summer an oil painting and autumn a mosaic of them all."
Stanley Horowitz
Today's fun, frugal and fabulous craft idea is an oldie but goodie. I remember this project from elementary school and was excited to do it with my own kids. . .I even learned a few important tips along the way. It's a great craft for the fall.
You will need
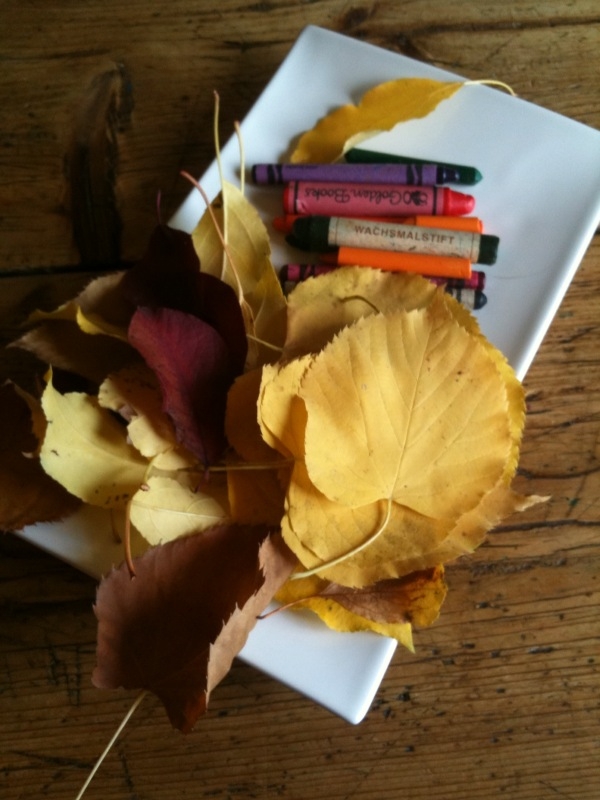
Leaves that have fallen from the tree
Wax paper
Crayon shavings (more on this below)
A warm iron
An ironing board
Two rags that can get melted crayon on them
1 well-behaved child (well-behaved is ideal; but a child of any temperament will do)
Construction paper (not necessary; it's for framing the final product)
First, you take a nice nature walk with your child and collect leaves along the way. I'm not sure why my kids were attracted to the nasty brown leaves with holes in them that have been laying in the gutter. Hopefully you will have better luck on your leaf hunt.

Next you need to shave the crayons. I am not sure why my sleep-deprived mind thought that using the cheese grater was a good idea. . .really, what was I thinking; the cheese grater?! **Note to all of the readers out there, use a crayon sharpener to get crayon shavings. It takes a REALLY, REALLY long time to wash crayon off a cheese grater.**
Once you have your shaved crayons and leaves, give each child a piece of wax paper. . .another note, the unbleached hippie wax paper is not good for this project. It makes the finished project dingy! It will work if it's all you have, but it's not the desired result. I realized looking in our pantry I was apparently in an eco-friendly mood last time I bought wax paper. All I had was unbleached. . .had to go out and buy "normal" wax paper. But it was worth the trip to the store.
Have the child scatter crayon shavings and leaves on the wax paper. Put another piece of wax paper on top and transfer to your ironing board. Make sure to put a rag under and over your project for any crayon that may melt out the side. With a warm iron, press the project together (make sure it is covered with a rag so you don't melt wax paper to your iron). Once the crayon is melted, you're done. Hang it in the window and enjoy your beautiful fall sun catcher.

If you have the energy to go the "extra mile" or if you have a babysitter do the project with the kids, you can make a frame for your sun catcher out of construction paper. Cut a "window" out of construction paper in any shape and tape or glue the sun catcher and the paper frame together. Trim any excess wax paper that sticks out of the frame.
Enjoy!
No comments:
Post a Comment